
Since our first Easter Cake was such a success we have been making cakes for every birthday since!
Bradley's First Birthday Cake:
 He LOVES cars so I knew I wanted to make him a car themed cake. I had this idea of making the road wrap around from the bottom layer to the top, it came out like I have planned! :) Then I did the bottom checkered to look like the racing checkered flags. I attempted to make the grassy hills look textured, it's hard to tell but they have a zig zag imprint on them.
 Bradley LOVED his birthday cake!! (and at 1, you can't fake happiness! every smile is a genuine!)

A few days later was my husbands 28th Birthday, He had drill the weekend of his birthday so I thought I would make him a Navy Cake. I feel like I went way too simple with this one, but finding time to make a cake with 4 kids home is hard! So this is what it turned out as:
 Next time I make any type of hat I will use a rounded mold, but the sailor hat still came out pretty good!


Next we had Zackary's 8th Birthday!! He LOVES Skylanders!! He asked for a Skylander cake so I started to invision what I could do! I knew I had to have the 'portal on top and I knew I needed to incorporate the element symbols onto it also.
This is my first 3 layer cake also! Here it is, I finished it just minutes before his party started!!


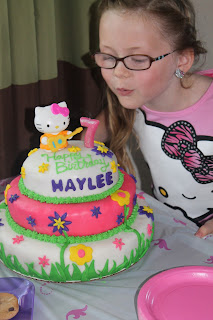
Haylee's Birthday Cake!! Of course she wanted a Hello Kitty Cake!


Blew out her candle in style!
In August I made a 'cowgirl' cake for my friend Megan! I brought it to school for her and everyone love it!

fondant cow print on the bottom and paisley print on the to

 This was his first time doing piping.


The girls picked out the butterflies for the cake!


My friend Heather asked me to show her how to make fondant. She was hosting a BBQ for a friends birthday and wanted to make her a boise state football cake also. This is the cake she made: (I think Im a pretty good teacher cuz it looks really good!) lol

These cupcakes are amazing!! Chocolate Cupcake with Peanut butter Frosting and shaved dark chocolate! The frosting is just 1 cup peanut butter mixed into a homemade buttercream frosting.


And then it was my baby girl Audrey's Birthday!! She is 5 and wanted to have a littlest pet shop themed party!


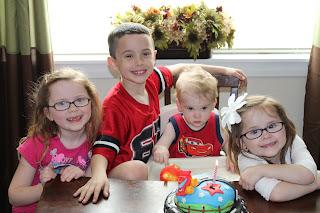
Bradley's First Birthday Cake:


All the kids with the Birthday Boy!!

Yummy Cake!!
A few days later was my husbands 28th Birthday, He had drill the weekend of his birthday so I thought I would make him a Navy Cake. I feel like I went way too simple with this one, but finding time to make a cake with 4 kids home is hard! So this is what it turned out as:


Happy Birthday James!! ♥

Helping Daddy blow out the candles! lol

Zackary wanted to dump Dads head in his cake!! Daddy was a good sport!
Next we had Zackary's 8th Birthday!! He LOVES Skylanders!! He asked for a Skylander cake so I started to invision what I could do! I knew I had to have the 'portal on top and I knew I needed to incorporate the element symbols onto it also.
This is my first 3 layer cake also! Here it is, I finished it just minutes before his party started!!

Still being a newbie at this cake stuff, but I think it came out great!!

My lil stud with his birthday cake!
Haylee's Birthday Cake!! Of course she wanted a Hello Kitty Cake!

My Birthday girl with her cake!

Blew out her candle in style!

In August I made a 'cowgirl' cake for my friend Megan! I brought it to school for her and everyone love it!

fondant cow print on the bottom and paisley print on the to

MY BIRTHDAY!!
Personally, I don't like the taste/texture of fondant so I wanted a buttercream frosting cake. My husband made this one for me: (yes, my husband can also make cakes!) 
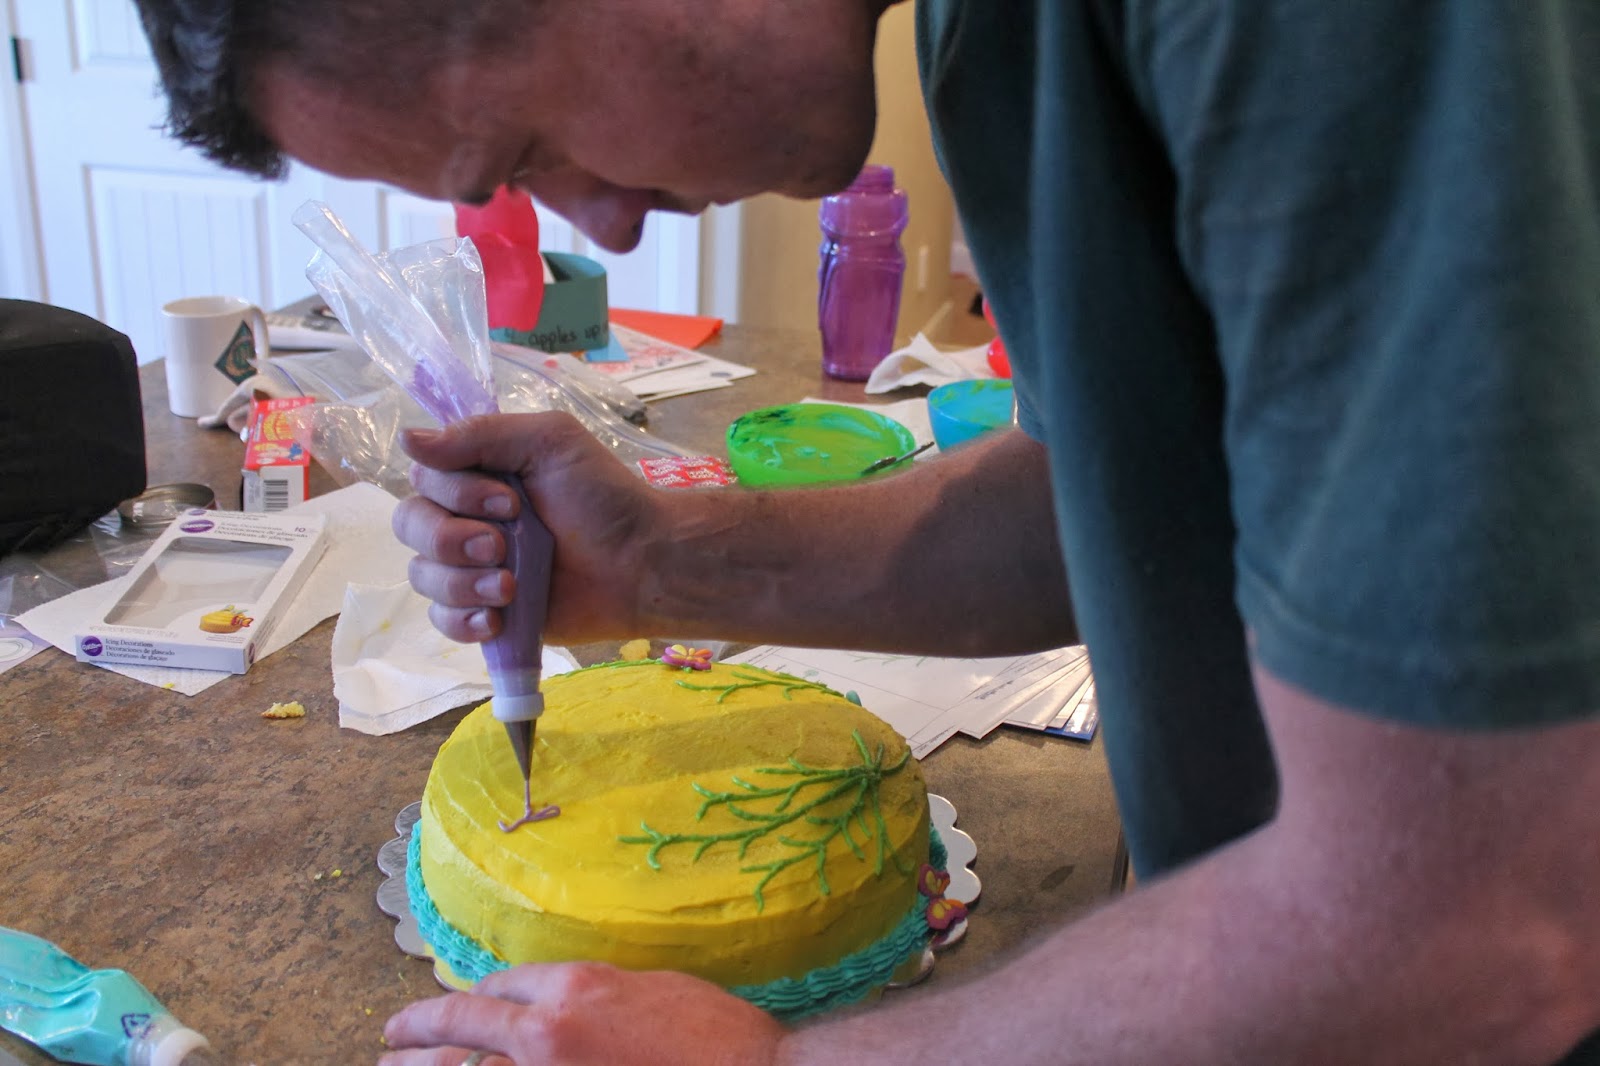
He was pretty proud of himself! haha, I am too!! :)

The girls picked out the butterflies for the cake!

My friend Heather asked me to show her how to make fondant. She was hosting a BBQ for a friends birthday and wanted to make her a boise state football cake also. This is the cake she made: (I think Im a pretty good teacher cuz it looks really good!) lol

These cupcakes are amazing!! Chocolate Cupcake with Peanut butter Frosting and shaved dark chocolate! The frosting is just 1 cup peanut butter mixed into a homemade buttercream frosting.

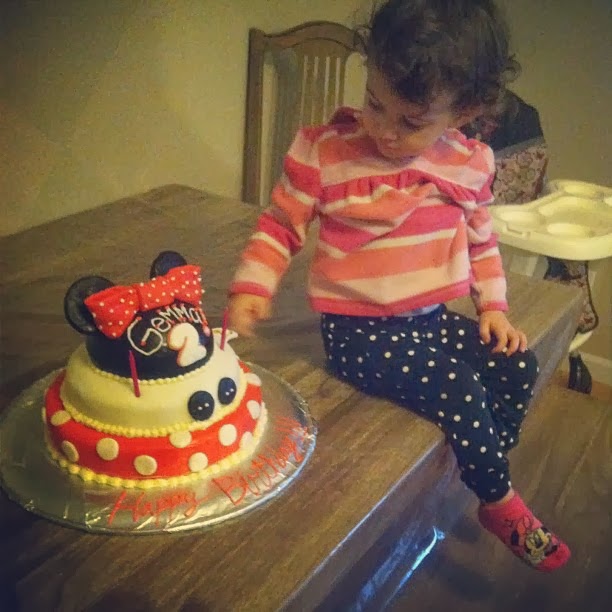
I offered to make a birthday cake for my friend Kelly's daughter. She was having a Minnie Mouse themed party so I made little Gemma this cake. I definitely need work on bows...
And then it was my baby girl Audrey's Birthday!! She is 5 and wanted to have a littlest pet shop themed party!

So Im pretty sure this is my best cake yet! It cake out so cute!!


